Getting a 3D printer is only the first step to creating your own objects.
If you’re tired of using existing STL files or paying someone to create them, you might want to learn how to make them yourself.
To create an STL file for the 3D printer, you have to:
Find and install a CAD program
Use the CAD software to make 3D printer files
Save the file as STL
Export the design to your slicer
How To Create STL Files For 3D Printing
Creating your own model designs to 3D print could feel daunting.
However, the task might be easier to accomplish than you thought.
1. Choose A CAD Program
The journey to create your own 3D print file starts in a CAD program.
CAD stands for computer-assisted design; this type of software allows you to create 3D designs – as opposed to 2D images that you can make with numerous programs such as Photoshop.
Like 2D design software, there are a variety of CAD programs you can choose from. Some are suitable for beginners with no experience, while others are more complex. Some are free, while others require a subscription, and so on.
A few programs suitable for beginners include:
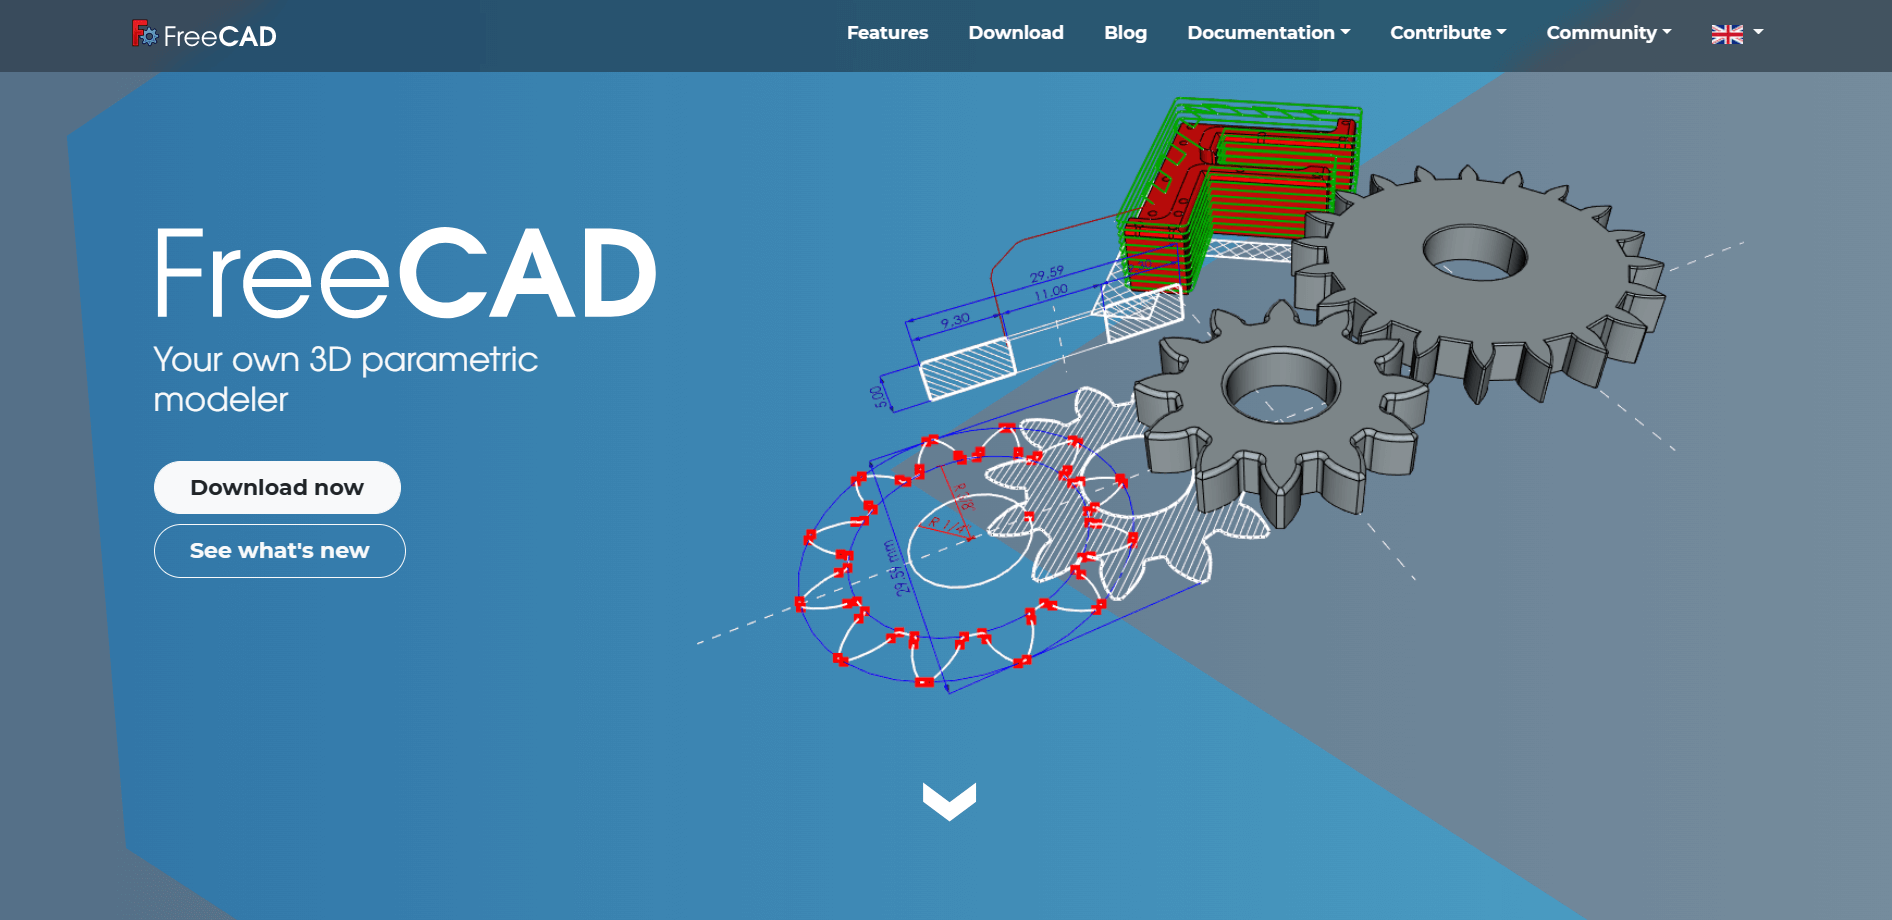
FreeCAD
New: Filament Printing 101 Course
Starting out with 3D printing and want to AVOID rookie MISTAKES?
Our new Filament Printing 101 Course is just for you! Lean how to create perfect professional printswithout all the hassle.
Don't let common mistakes hold you back, click the link to learn more and get ahead now!
As its name suggests, FreeCAD is a completely free CAD software.
It is an open-source program, meaning that developers can freely contribute to adding new features and improving them. Unfortunately, this also means that it can have some bugs.
Overall, this is one of the best choices for beginners, though.
The program offers plenty of tools, including a parametric 3D modeling tool that enables you to create real-life objects of any size.
Parameters are easy to change, so you can upload and edit a template if you don’t want to create a model from scratch.
3D Slash
Perfect for beginners of any age, 3D Slash is a good introduction to 3D modeling. Some features are developed specifically for schools, making this software useful for educational purposes.
Working like a building game, the program is fun and intuitive.
Its web version is perfect for trying it out, and you can continue to use the free version for as long as you like. However, this version only has eight colors, and you’ll have to wait in a queue to export the file.
Alternatively, premium plans start at only $2 per month and include an array of features that can help you create the models of your dreams.
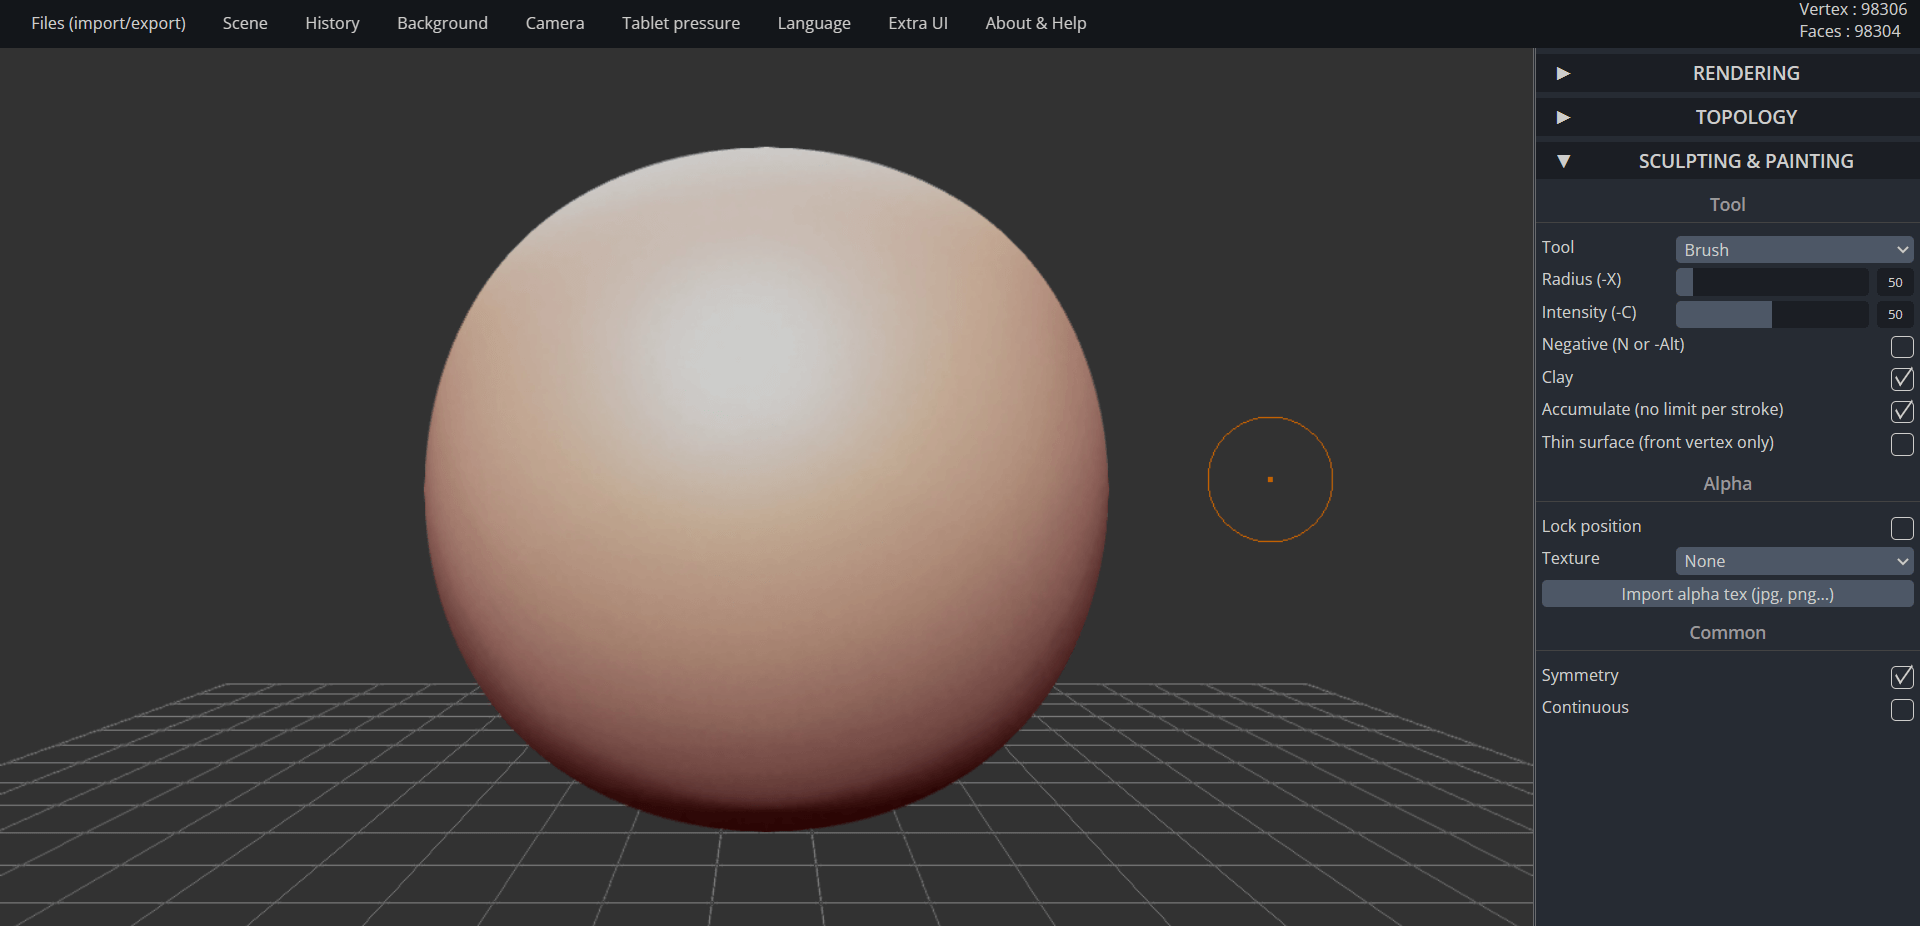
SculptGL
A browser-based software, SculptGL is perfect for sculpting and painting. It is pretty basic, but it has all tools needed to create artistic or decorative objects.
The software starts with a ball of material. All tools are symmetrical, meaning that any change made to a side of the sphere is automatically applied to the other side. This makes it easy to create figurines, for instance.
You can also work on textures and export the file directly as STL.
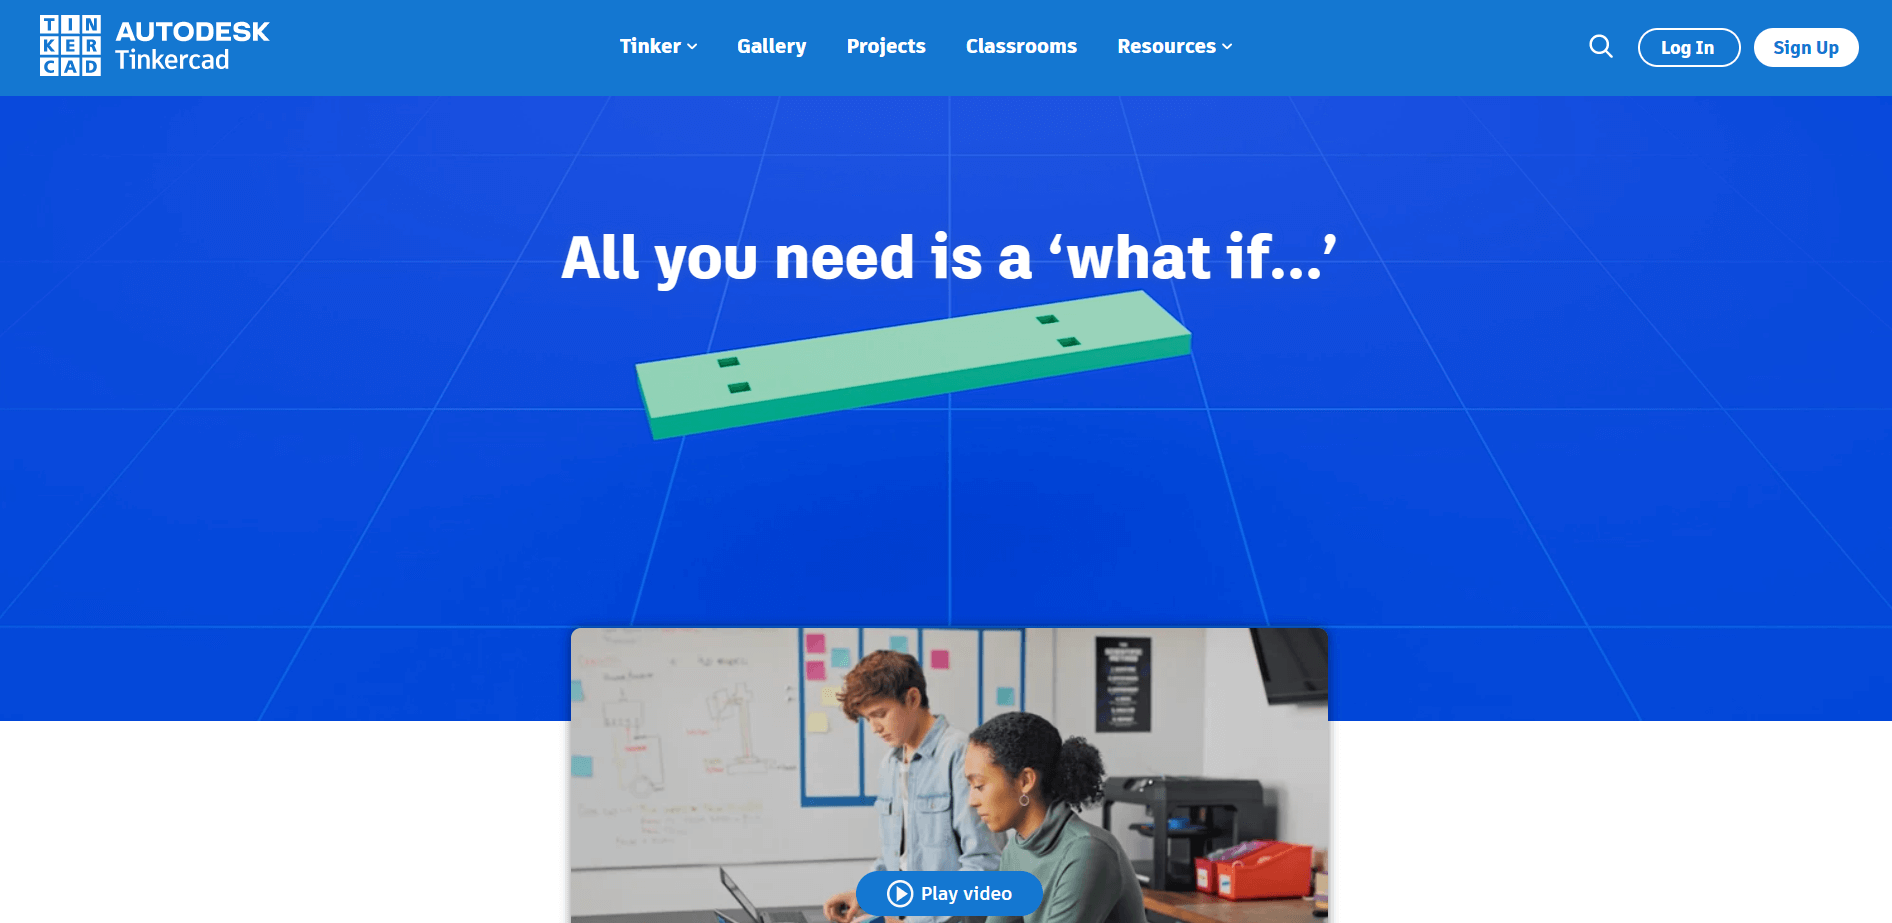
TinkerCAD
Often described as the best CAD software for beginners, TinkerCAD is another free program that comes with a bunch of functions.
Similar to 3D Slash, it is based on block construction. You can develop models from a set of basic shapes, rotate the object to work on its various sides, and even add extra features like electronic circuits.
This software comes in a bunch of languages and includes educational features for kids.
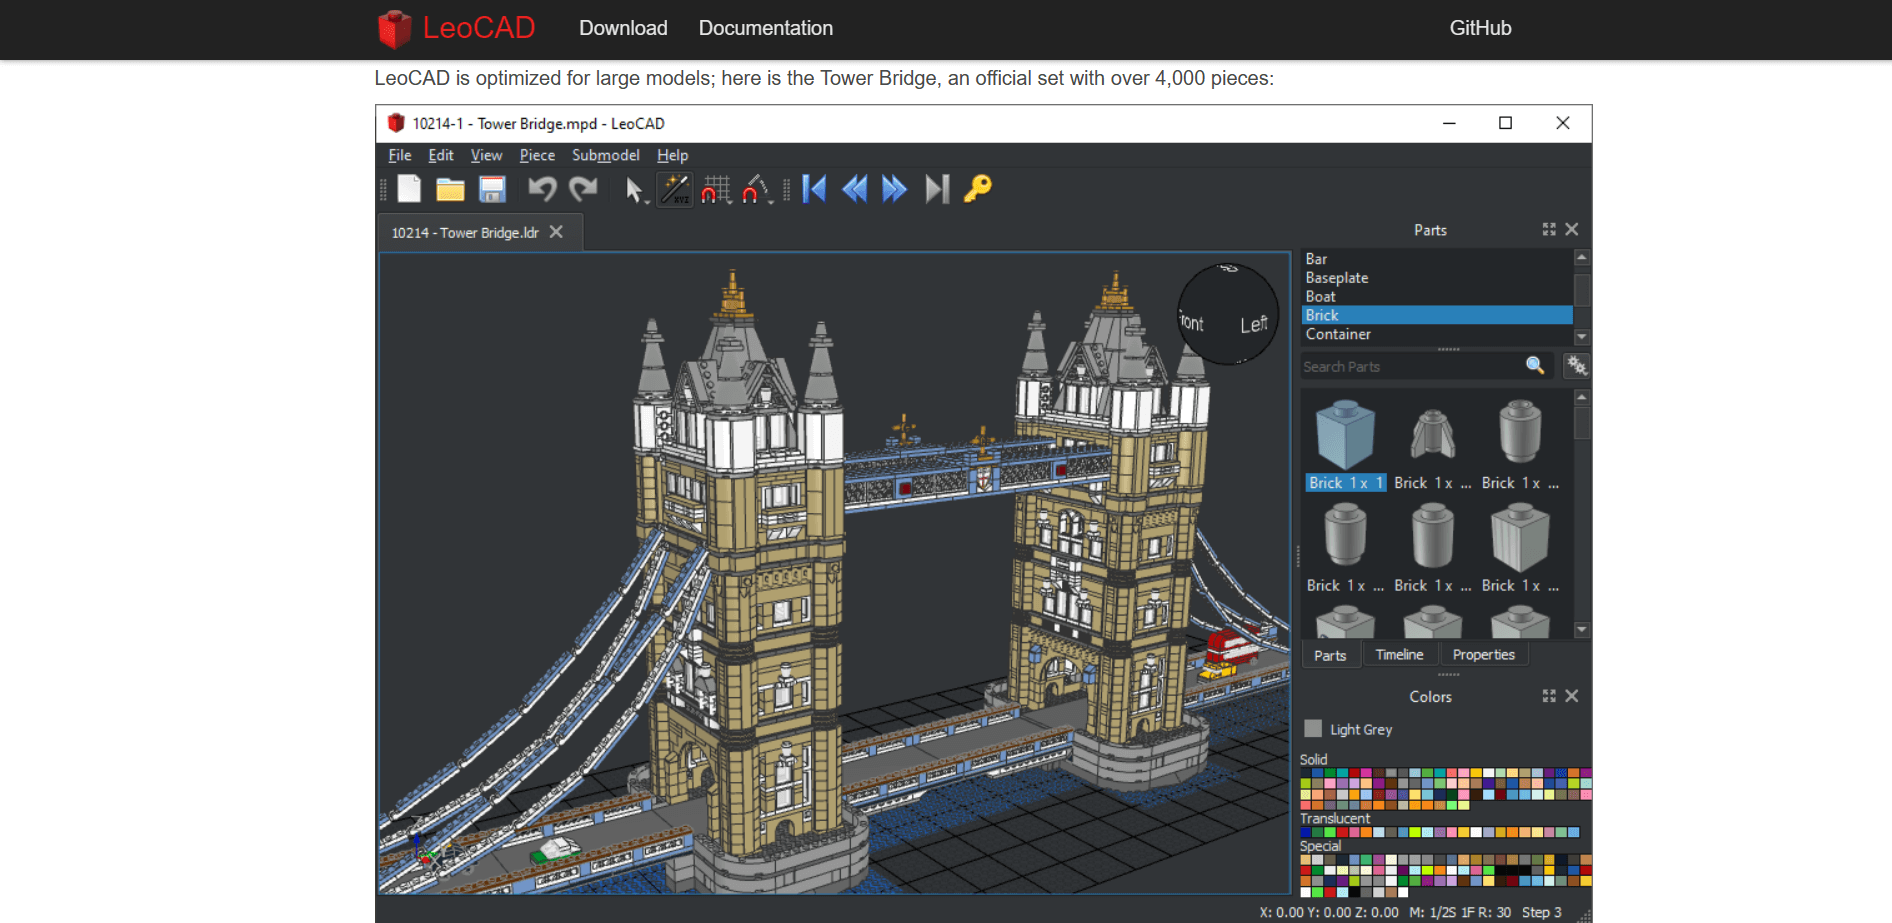
LeoCAD
If you were into LEGO bricks as a kid, LeoCAD might be the perfect CAD software for you.
This program allows you to create any kind of object from LEGO-style bricks and is well-suited for simple projects and complex structures with lots of parts alike.
Like FreeCAD, LeoCAD is free and open-source, meaning that anyone can contribute to it and add new features.
Once you’ve designed your piece, you can save the file as STL and save it on your computer.
2. Design Your Model
Finding a free CAD program isn’t overly complicated. Different programs have different features. So, if you’re a complete beginner, you might want to take your time trying a few of them and see which works best for you.
Once you’ve found the software you like, create a few mock models to learn its features and get familiar with the tools. Luckily, most beginner programs are very intuitive to use.
When you feel confident enough, start designing your own project.
Depending on the part you want to make and your design skills, you could build the object from scratch or import a template and edit it.
Some CAD software even has an Extrude tool that allows you to transform a 2D image into a 3D object. If you want to use 2D images, it is important to check the software you like and make sure it has Extrude or a similar option.
3. Save The File As STL
When you’re happy with the model, save the file as STL.
It is essential to check the option when saving since CAD programs can be used for a variety of purposes and not only to create 3D printing models.
In fact, most software types save the files as DWG or DFG by default.
The problem is that slicer programs may not support those formats. Importing your file as an STL ensures a smoother slicing process.
4. Export The Design
The last step to creating your own 3D printer file is exporting the design from the CAD to the slicer software.
There are two ways to do this, and you may have to choose one over the other depending on the CAD software you’re using.
The vast majority of programs let you save the file locally on your computer.
In most programs, all you have to do is go to File -> Save, type in a name for your file and save it as STL on your computer.
In addition to allowing you to save the file locally, some CAD programs can also export an STL file directly to a slicer software. Whether your slicer can import files from the CAD program largely depends on the compatibility between the two.
Open-source slicers like Cura work with most CAD programs that offer export-to-slicer features. Other slicers like Simplify3D may only work with some CAD programs.
If your slicer can’t import the file directly from CAD, you can save it on your computer and upload it manually.
Once uploaded or imported, you can open the file in the slicer and slice it to prepare for 3D printing.
Important Considerations For 3D Printer Files
You might have found the right CAD software, but there are a few considerations to take into account before designing your model.
Software Guidelines
CAD software is available for a wide range of purposes. Some programs, such as ZBrush or Blender, are designed with 3D artists in mind, even if they are suitable for beginners.
The issue with these programs is that they provide more autonomy in model creation. You might have to input things like wall thickness manually. This could be tricky in the beginning.
Luckily, most programs offer tutorials and guides that teach you the basics of creating and preparing a model for 3D printing. Read and follow the rules to avoid mistakes.
File Extension
As mentioned above, most CAD programs save the files as DWG or DFG by default. These files won’t work in most slicers.
In order for your design to become 3D print-ready, a slicer must transform it into tiny triangles. The 3D printer can read the position of each triangle and print it accordingly.
STL stands for Standard Triangle or Standard Tessellation Language. This is the language your 3D printer can understand, so saving the file correctly is crucial.
Resolution of STL File
Considering the resolution of your design is also essential if you want to minimize post-print work.
The slicer transforms the object into tiny triangles linked to one another. Your printer extrudes one triangle at a time, even if the process is not always visible or intuitive.
However, the reason why you don’t see the triangles on the surface of 3D-printed objects is that the original files have a high resolution. If the STL file has a low resolution, the triangles will most likely become visible.
Tolerances
If you’re designing parts that have to fit together, another crucial thing to consider is tolerance.
For instance, if you’re designing a peg that has to fit into a hole, you need to make the hole slightly larger than the peg but not too large.
When designing the object, calculate how much clearance you need for each part and make sure that all segmented parts are aligned with each other so that they fit correctly.
Generally, a tolerance of 0.01mm is enough to be able to assemble the parts while giving your model a smooth appearance.
Model Base
A crucial thing to keep in mind about 3D printing is that each model must have a solid base.
If you design a hollow object (such as a tube with both ends open, for instance), the base of the model may be too thin to adhere properly to the build plate. If this happens, the model can bend or warp.
To print a hollow part with two open ends, you should use a raft. A raft is a solid base onto which your part is built. After printing, you can cut off the raft and only keep your part.
Wall Thickness
Problems with wall thicknesses are by far the most common issues 3D printer beginners have to face.
If the walls are not thick enough, the model might bend onto itself. Too thick walls can generate too much internal stress and crack the printed model.
As a rule of thumb, you should calculate the wall thickness as double the nozzle diameter you’re using. So, for a 0.4mm nozzle, the ideal wall thickness is 0.8mm.
FAQs
Can you edit 3D printer files?
Yes, you can edit and modify any STL file in your chosen CAD software.
It doesn’t matter which software produced the original STL file.
How can I obtain 3D printing files?
The easiest way to obtain 3D printing files is by designing your parts in CAD software and saving the file as STL.
You can then export the file to your slicer software.
Can you convert an image to an STL file?
Yes, you can convert images to STL files.
To do this, you must first import the 2D image into a CAD program and transform it into a 3D object. Save the file as STL and export it to your slicer.
Next Steps
Creating a 3D printer file can be done regardless of your skill level. Free programs with educational features are the best for complete beginners. If you’ve designed in CAD before, you can choose a more complex program.
Regardless of the software you use, remember to save your file as STL, or your slicer won’t be able to process it.
Cura is the go-to slicer for many. That’s not only because it’s free but also because it offers a lot of features and versatility, whether you’re taking advantage of its open-source code or the...
The Creality Ender 3 Pro and V2 are widely viewed as some of the best entry-level 3D printers on the market. Both are equipped with a large range of functionality and features.
However, if you...
 New: Filament Printing 101 Course
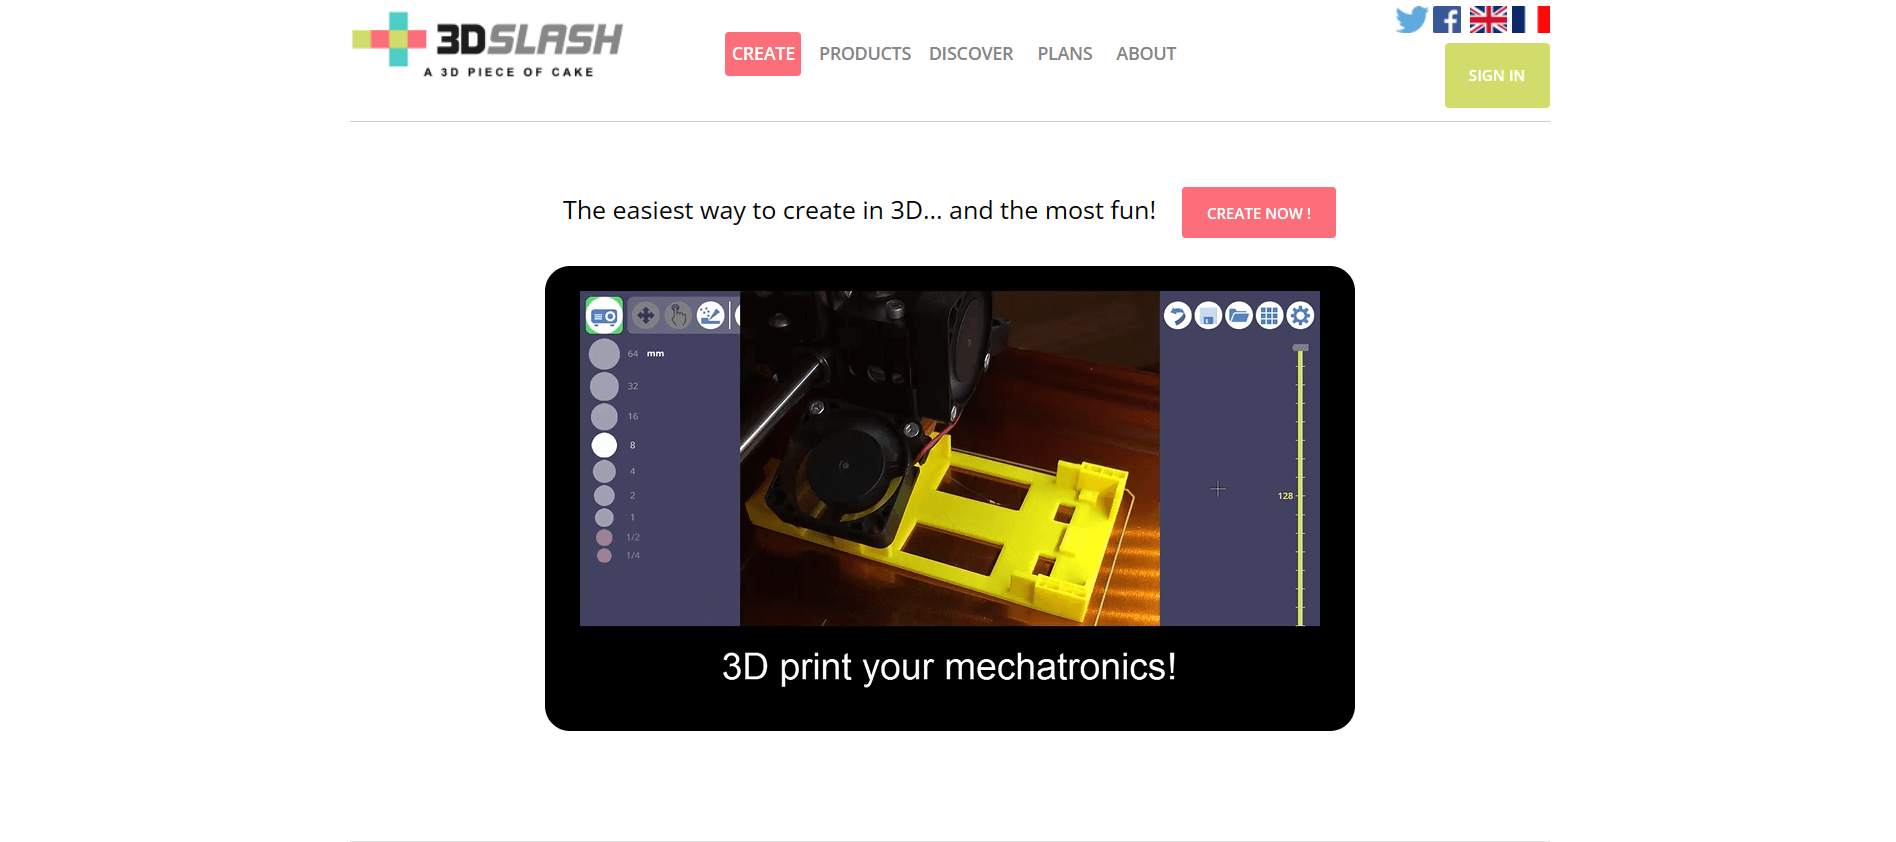
")
