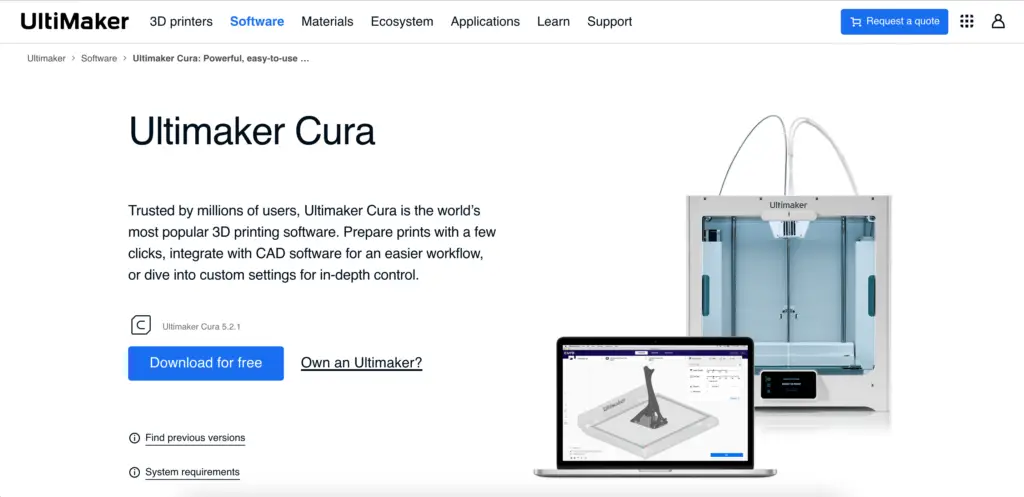
Ultimaker’s Cura is one of the most popular 3D printing software. Besides its open-source characteristic, it gives users the possibility of printing intricate artistic objects with a feature typically referred to as “vase mode.”
Where can you find vase mode in Cura, and how to use it?
Cura vase mode is technically called Spiralize Outer Contour. This function prints the outermost surfaces of an object using a single, continuous line. The vase mode enables you to obtain smoother, more aesthetically pleasing hollow parts. However, this mode is not suitable for printing models that have an interrupted cross-section.
What is Spiralize Outer Contour or Vase Mode?
Spiralize Outer Contour or Cura’s vase mode – as it is commonly called – is a practical function that allows you to print intricate 3D objects with the thickness of a single wall.
What this actually means is that your model will be a hollow part but one with a very aesthetic exterior.
Moreover, the vase mode helps you save time and material, especially when printing vases, cups, or other models that don’t need a solid core.
This function works by printing a few solid layers to start the print; then, it continues printing the outer layer of the model by increasing the Z height and feeding the filament continually.
With this technique, the model is printed as a single wall with no separate layers.
While this 3D printing method enhances the print from a visual standpoint, it creates less robust models.
Recommended Vase Mode Settings in Cura
Creating works of art with a 3D printer is possible. Here’s how to use vase mode for the best results.
- Our new Filament Printing 101 Course is just for you! Lean how to create perfect professional prints without all the hassle.
- Don't let common mistakes hold you back, click the link to learn more and get ahead now!
Wall Line Width
When printing objects in vase mode, the wall width determines the rigidity and durability of the model.
Typically, the maximum line width you can choose is equal to the diameter of the nozzle.
So, for example, 0.4 mm is the maximum line width that a 0.4-mm nozzle can extrude. If you want a thicker line, you should use a larger nozzle.
However, you can get a thicker line with a smaller nozzle by selecting a higher extrusion temperature and a slower extrusion speed.
Following the example above, increasing the temperature by five degrees and selecting a speed between 25 and 30 mm per second (or lower) enables you to obtain a line thickness of around 0.6 mm with a 0.4-mm nozzle.
Temperature
Configuring the best temperature for 3D printing is often an arduous process, regardless of the mode.
When using vase mode, it is recommended to set a higher temperature in the initial phase (right before and after it starts printing), then lower it after the extrusion of the first solid layers by around ten degrees.
For instance, you can tune the temperature to 230°C, then lower it after about two minutes to 220°C.
The higher temperature at the start helps set the solid layer on the bed. After that, a slightly lower temperature aids in faster cooling of the filament so that the filament wall doesn’t lose shape or bend over itself.
Since setting the temperature is not an exact science – it depends on nozzle size and type of filament – you should experiment with small pieces and see what range is best for you.
Speed
For proper extrusion in vase mode, the printing speed needs to be slow. This allows the filament to cool down before a new filament is laid out.
Like with the temperature, there is no exact science in how fast or slow you should set the speed.
It should also be said that the speed should be normal during the initial extrusion stage when the first layers are printed.
Ideally, your speed setting in Cura should be 100% at the start. When changing the temperature setting, change the speed setting as well, lowering it to 50%.
If you want to increase the filament thickness while using a smaller nozzle, as explained above, choose a printing speed of about 25 to 30 mm per second.
How To Use Vase Mode in Cura
Using Spiral vase mode in Cura 3.1 can seem intimidating at first. However, printing a vase or other decorative objects is easy.
Note: The directions below are intended as guidelines. Depending on the type of filament and nozzle size, you may have to use different speeds or temperatures.
1. Set Up The Printer
The first thing to do before using Cura’s vase mode is to decide which nozzle size and filament type to use.
Thicker nozzles are recommended if you want to create a more robust model. However, the thinner the line, the better your object will look.
Common nozzle sizes used when printing in vase mode varies from 0.2 to 0.6 mm.
Set up the printer installing the desired nozzle and filament.
2. Enable Vase Mode
Open up Cura and go to:
- Print Setup -> Custom -> Special Modes -> Spiralize Outer Contour
Enable the Spiralize Outer Contour mode, which is the official name of the vase mode.
3. Set The Parameters
As explained, the initial parameters used when starting to print the model are different than those used for the rest of the printing process.
Go to Tune and set:
- Temperature: 230°C
- Material: 100%
- Speed: 100%
4. Start The Print
Click on the start button to start the printing process and wait for the first solid layer to be extruded (around two minutes).
5. Adjust The Parameters
Once the solid layer is on the bed, go to Tune again to adjust the settings. These should be:
- Temperature: 220°C
- Material: 100%
- Speed: 50%
Wait for ten to 15 seconds. If you hear a “chuffing” sound, you must tweak the settings by turning down the material flow or adjusting the speed and temp.
Getting the settings right might take some trial and error, so start with small models to save time and material.
Benefits and Limitations of Cura Vase Mode
Like anything else, Cura vase mode comes with pros and cons. Let’s have a look at them.
Advantages
The main advantage of vase mode prints is their flawless aesthetic. This mode is ideal for decorative pieces, such as vases, statues, figurines, etc.
Other advantages include:
- Time-saving mode: When printing models in vase mode, the filament is extruded continuously. There is no jumping around or halting from start to finish, so the printer is able to complete the project faster.
- Money-saving: By shortening the printing time, the vase mode saves you money. In this mode, the printer also uses less material because there is no material loss caused by interruptions in the extrusion process. Moreover, the models are empty inside and are made up of only external walls. For these reasons, printing models in vase mode is cheaper than printing them in other modes.
- Less wear and tear: Another advantage of continuous extrusion is the lower strain printing puts on the arm and other components of your printer – there is no jumping around, so the arm won’t wear out as fast as with other modes.
- Higher print quality: Regardless of the nozzle size and filament type you decide to use, all models printed with vase mode have a higher resolution compared to models printed with regular modes. The absence of layers also increases print durability.
- Versatility: Vase mode enables artists to use 3D printers to create unique decorative pieces such as bowls, cups, vases, and other hollow objects.
Limitations
While vase mode printed objects are aesthetically appealing, this setting also has limitations:
- Not ideal for large objects: Cura vase mode is most suitable for small to mid-sized hollow models like bowls or vases. If your model is too large and the perimeter can’t be printed in a single extrusion, the software will slice it.
- Not ideal for models with a closed top: While the vase mode allows you to print models with a solid bottom, it doesn’t print a solid layer on the top. If you’re printing a solid cube, for instance, you’ll end up with a cube-shaped bowl.
- Models are more fragile: Vase mode is a setting designed for making vases and other objects with a hollow core. Since these prints consist of external walls only, they are much more fragile than solid 3D prints. You can enhance rigidity by using a larger nozzle and thicker filament.
Conclusion
Whether you want to make a vase or experiment with the different features of your software, Cura vase mode enables you to print highly aesthetic models.
We hope this Cura vase mode tutorial can help you understand how to set the parameters and how to make fine adjustments to obtain perfect prints.


