One of the most important things in 3D printing is speed.
When creating solid core objects, selecting the fastest infill pattern could make the difference between running late or finishing your project on time.
The fastest 3D printing infill pattern is the concentric. This pattern consists of only one line, with the lack of directional changes saving the printer time. In Cura and PrusaSlicer, the fastest infill pattern is the Lightning. This newly released infill is best for objects that don’t need great mechanical stability.
What Is The Fastest Infill Pattern?*
Hollow 3D prints are often flimsy. Infills can enhance structural stability and resistance, but they could increase the printing time by a few hours. If you’re on the run, selecting the fastest pattern may save the day.
While we listed the infill patterns from the fastest to the slowest, keep in mind that the infill density, material, and software you’re using can influence the actual print time.
*Disclaimer: Infill patterns are ranked based on the total printing time calculated for a cube object at an infill rate of 18%. Patterns ranked lower on this list may be fastest than infill patterns ranked higher for different shapes and infill rates. The type of 3D printer and slicer software you’re using can also impact speed rates and alter this ranking.
1. Lightning
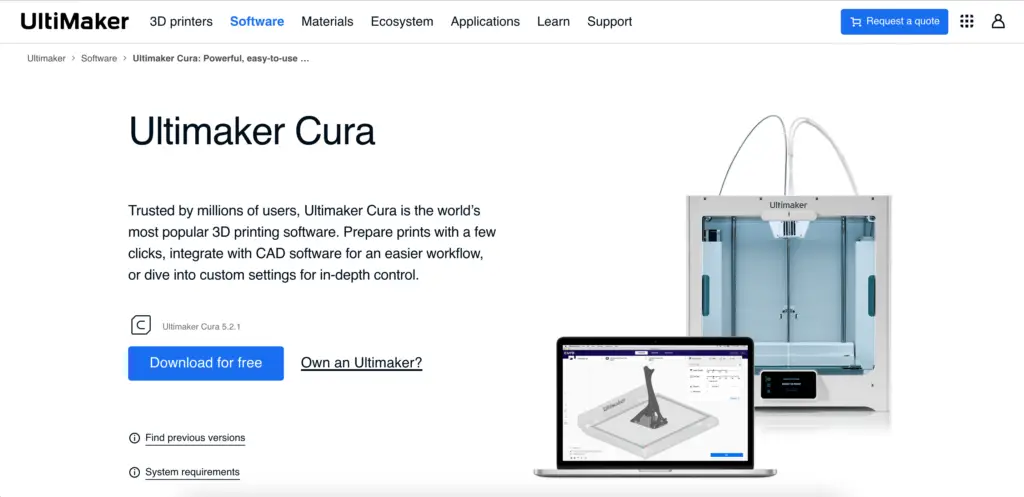
The Lightning infill is one of the newest patterns introduced by Ulimaker with its Cura 4.12 version, back in 2021.
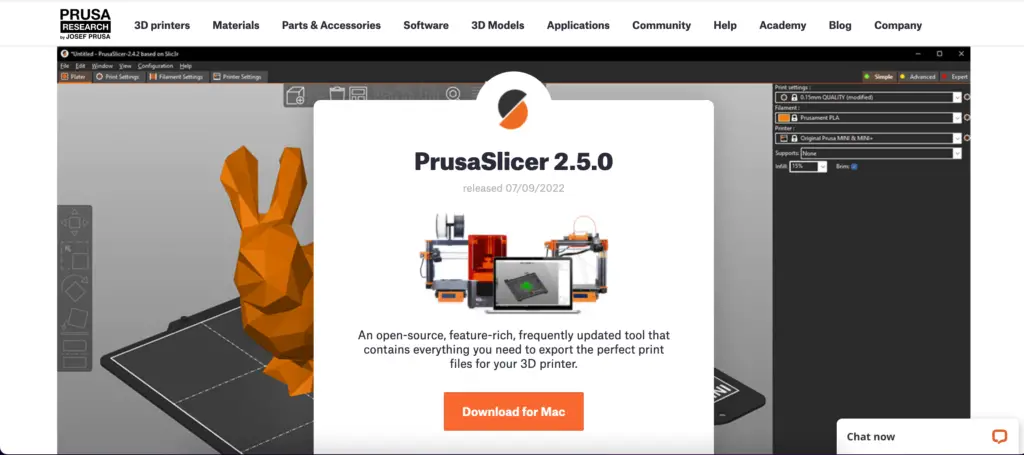
In 2022, Prusa adopted the pattern, including it in the PrusaSlicer 2.5 and beyond. However, Lightning may or may not be an option on other slicers.
New: Filament Printing 101 Course
Starting out with 3D printing and want to AVOID rookie MISTAKES?
Our new Filament Printing 101 Course is just for you! Lean how to create perfect professional printswithout all the hassle.
Don't let common mistakes hold you back, click the link to learn more and get ahead now!
Different from any other infill patterns released before it, the Lightning infill was developed to decrease printing time by at least 25%.
It can also save up to 90% of material used by other infill patterns, since it is designed to only provide internal support to those parts of the model that need it. The rest of the model interior remains hollow.
When To Use
The Lightning infill is a perfect choice for decorative objects that don’t need a lot of mechanical stability. You can use it for:
Rapid prototyping
Ornamental prints
Environmentally conscious prints
Budget prints
Pros and Cons
Pros
The fastest infill pattern
Reduces material consumption
Reduces final object weight
Adds internal support where needed
Cons
Produces fundamentally weaker prints
It can increase slicing time
2. Concentric
Found in all types of slicing software, the concentric infill is a type of 2D pattern designed to add vertical stability. Nonetheless, it remains relatively flexible and is not ideal for objects that need a high mechanical strength.
Ideal to use for round or spherical prints, the concentric infill pattern also works well with rectangular or odd shape objects.
When To Use
One of the most peculiar infills, the concentric pattern can be one of the most flexible or one of the strongest, depending on the infill density.
This makes it suitable for a wide range of projects, such as:
Flexible parts designed to bend
Rigid parts that need a good distribution of load
Round, spherical, or cylindrical objects
Pros and Cons
Pros
Maintains object flexibility at lower density
Adds exceptional strength and load distribution at high density
Saves material
Cons
One of the slowest to print at high densities
May require additional vertical support when filling long, vertical cylinders.
3. Triangle
Considered the strongest pattern, the triangle infill makes sense for parts with thin walls and rectangular components.
It improves structural strength when forces are applied perpendicular to the face of the printed object, forming hexagon shapes much faster than the actual hexagon infill.
Another advantage is the printing speed. To print out this infill, the printer arm only travels in straight lines across the part.
When To Use
Often the default infill used for plastic, composite, and metal prints that need high stability, the triangle pattern is one of the most versatile. You can use it:
To add support to parts with thin walls
Increase strength when choosing a low-infill density
Parts that have to support heavier loads
Pros and Cons
Pros
Strongest pattern in shape
Parts printed with triangular infill are not likely to deform
Provides wall support
Faster print time compared to other honeycomb patterns
Cons
Achieving a smooth object surface with this infill pattern is difficult
4. Grid
Surprisingly, this infill pattern prints slower when used to fill in a rectangle. It also provides only mid-strength support compared to the triangles.
However, it is less complex and uses less material. This could be an advantage if your object needs a higher infill density.
When To Use
With a cross-over pattern on each layer, the grid infill can add more strength than rectilinear and concentric patterns. However, it is weaker than the triangle infill and not the best choice for objects that need good horizontal support.
It is ideal, though, in the following situations:
Objects that need good strength in the direction of the formed lines
Objects that need strength in a vertical direction
Pros and Cons
Pros
Uses less material than the triangle infill
Each infill layer is stronger compared to rectilinear infill
Creates a fairly smooth top surface
Cons
Weaker in the diagonal direction
Unsuitable for objects that need a strong vertical support
5. Hexagon
Consisting of a mixture of triangles and hexagonal shapes, this is one of the strongest and most complex patterns.
Surprisingly, though, it is faster than cubic, zig-zag, and linear patterns which are a lot less complicated to print – at least as far as rectangular objects are concerned.
Using this pattern to fill a complicated object could increase print time and waste material.
When To Use
Providing the best strength-to-weight ratio of any infill patterns and is the least affected by poor print cooling.
It is ideal for:
Objects that need strength in a horizontal direction
Saving material while adding strength to any other object
Pros and Cons
Pros
Equal strength in each horizontal direction
Optimal strength-to-weight ratio helps save material
Ideal for all filament types
Great resistance to shear
Cons
Weak resistance to bending
Object’s surface might not be smooth
6. Cubic
Cubic – as well as the cubic subdivision patterns – are often mistaken for the hexagon one. The main difference is that hexagon patterns are 2-dimensional, whereas the cubic one is 3D. This characteristic makes it one of the most complex infills.
Yet, the pattern still has a decent print speed and adds plenty of stability.
When To Use
Because of the 3D structure of this pattern, the cubic infill adds structural strength in all directions.
It is a good choice for:
Extremely stable objects with infill densities between 30% and 60%
Functional parts that have to move while maintaining strength on all axes
Pros and Cons
Pros
This pattern prevents overhangs
Pattern reduces the undesirable pillowing of the top layer
Decent speed considering its complexity
Cons
Weaker resistance than triangle infills
Higher consumption of material
7. Zig-Zag
The zig-zag pattern is often considered one of the fastest. After all, it only consists of one line that changes direction to create the popular chevron design.
Despite this, however, zig-zag infill has a disappointing performance when printing a rectangular object. Its performance improves, though, for odd object shapes.
Depending on your project, the zig-zag pattern can indeed become the second-fastest, after the Lightning.
When To Use
The zig-zag infill can be one of the fastest, depending on the object shape, but it doesn’t add a lot of structural strength. Use it for:
Decorative objects and figurines that don’t need a lot of structural strength
Prototypes, if you want to save material
Pros and Cons
Pros
One of the fastest infill patterns, depending on project
It can save material depending on infill density
Reduced chances of oozing; ideal for low-viscosity filaments
Cons
Only suitable for visual-only prints
It can be one of the slowest infills, depending on project
8. Octagonal
Not ideal if you need fast printing speed, the octagonal pattern provides strength comparable to that of the triangular pattern.
However, it usually eats up a lot more material and it can increase print speed considerably if the object is intricate.
When To Use
Renowned for its strength, this pattern is made up of cubes and triangular pyramids that join together to create a solid internal frame.
It is best suited for:
Thin mechanical parts
Objects that must survive pressure from all sides
Models with a very thin perimeter
Pros and Cons
Pros
Strong internal frame, especially where the adjacent lines are
Reduced pillowing effect
Good strength even when printing thinner lines
Ideal for moving parts
Cons
Uses more material
It can be quite slow, especially at higher densities
Produces poor-quality top surfaces
9. Rectilinear
Similar to the zig-zag, the rectilinear pattern is one of the simplest – and often one of the fastest.
However, its speed seems to drop considerably, depending on the model shape. For instance, this is one of the slowest choices for infilling rectangular objects.
When To Use
The rectilinear pattern looks like the grid one when seen from the top. However, each layer of this pattern only has lines that go in one direction.
The subsequent layer is printed perpendicular to the layer below it, giving off the grid structure. Yet, because each layer is unidirectional, the rectilinear infill is weaker than the grid one. Based on tests, it is also slower.
It is best used for:
Decorative models and other visual prints
Prototypes, to save material
Pros and Cons
Pros
Like the zig-zag pattern, it can be one of the fastest infills
High tensile strength, but only for 100% density infills
The only pattern that can produce 100% infill
Cons
Slower speed than other, more complex patterns
High material usage to achieve tensile strength
Very weak when infill density is low
10. Gyroid
Bragging with a high strength-to-weight ratio, the gyroid pattern won’t win a speed award anytime soon, but you may want to use it when printing objects that need structural strength. The only real downside is that it needs a high infill density.
When To Use
Extremely popular thanks to the unique look it produces, the gyroid infill is often used for open-top projects that still need a core. The pattern is also very stable in all directions and perfect for:
Flexible prints
Transparent filaments
Prints with an open top
Pros and Cons
Pros
Psychedelic, organic-looking structure
Highly aesthetically pleasing
Excellent strength-to-weight ratio
Flexible infill without losing strength
Cons
Requires a high density
The pattern is complex, so both slicing and printing can be slow
11. Cross
Depending on your software, the cross pattern can be 2D or 3D. Some slicers include both versions, but no matter which you choose, this infill is perfect for objects and filaments that require a low infill density percentage.
Its main downside is the speed; this is the slowest infill pattern you can choose.
When To Use
Despite its turtle speed, the cross infill is an excellent choice for flexible materials. You should use it when:
Using flexible filaments known for oozing
Objects that require flexibility and a minimum amount of strength throughout
Cubic for objects that need heat insulation or to float on water
Honeycomb for mechanical resistance
Gyroid for transparent objects
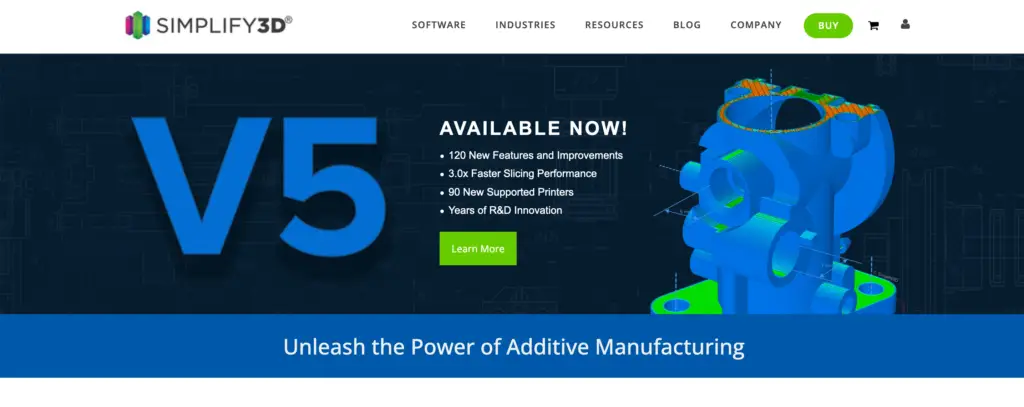
Simplify3D
Simplify3D is a subscription-based software ideal for beginners. It has very few infill pattern options compared to both Cura and PrusaSlicer. The best are:
Rectilinear for good printing speed
Grid for strength
Wiggle for aesthetic prints
4 Factors Affecting Infill Pattern Speed
A list telling you which is the fastest infill pattern may be worth nothing if the shape of the object changes those parameters.
There are four main factors that can majorly affect speed.
1. Pattern Complexity
Undeniably, the complexity of the infill pattern is the main factor that affects speed.
Simple patterns are faster than complex ones. For instance, your printer will take less time to slice and print a linear infill compared to a gyroid one.
2. Object Shape
Surprisingly, the shape of the object can also impact infill pattern speed.
For instance, linear or zig-zag patterns are some of the slowest when chosen to fill rectangular objects (such as a cube). Yet, they are some of the fastest when filling intricate parts.
3. Software Used
Depending on the coding that goes into each software, some slicers may be able to process and print some patterns faster than others. An example includes the linear and zig-zag patterns.
Some slicers can process linear patterns faster than zig-zag ones, whereas others print zig-zag lines faster.
4. Printer Model
Lastly, your machine can also impact speed. A state-of-the-art 3D printer can print any infill pattern faster than a low-end one.
Since not all 3D printers work with all slicers, the printer model may also limit you in this sense, further affecting speed.
To End
The fastest infill pattern when filling rectangular objects is the concentric one. Linear and zig-zag patterns are faster for all other shapes. Then, the Lightning pattern – which is highly irregular – is the fastest one regardless of the object shape or filament material, but it is only available in a few types of slicers.
However, the true key to your project’s success is knowing which factors affect infill pattern speed and when to choose one pattern over the other.
Cura is the go-to slicer for many. That’s not only because it’s free but also because it offers a lot of features and versatility, whether you’re taking advantage of its open-source code or the...
The Creality Ender 3 Pro and V2 are widely viewed as some of the best entry-level 3D printers on the market. Both are equipped with a large range of functionality and features.
However, if you...
 New: Filament Printing 101 Course